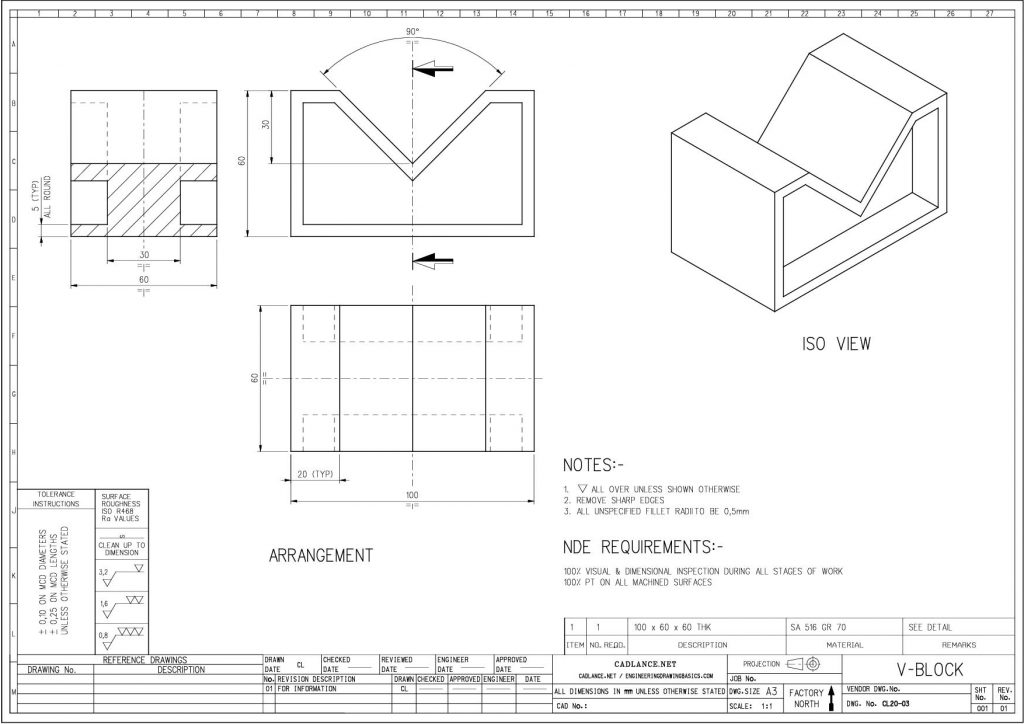
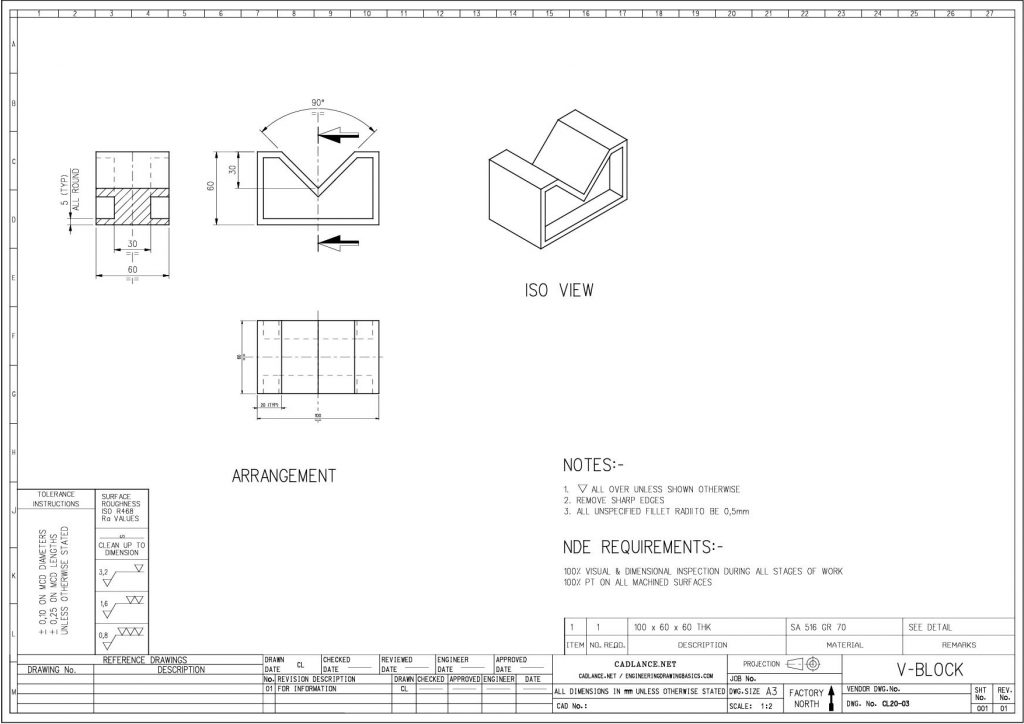
When representing assemblies or parts, it is often necessary to draw the assemblies or parts larger or smaller. Usually smaller details are drawn larger to enable a draftsman to include dimensions and notes and larger assemblies are drawn in a smaller scale to show the “bigger picture”.
First , we need to establish what a 1:1 or 1:5 scale means.
When looking at a scale of eg. 1:5, the number that is left of the : (that is the 1) represents the units drawn on the paper and the number on the right hand side of the : (the 5) represents the units that is represented in real life.
Continuing with the scale of 1:5, it simply means that for every 1cm drawn on paper, it represents 5cm in real life and every 3cm drawn on paper represents 15cm in real life.
When we have a scale of 5:1, the same rule applies. Now every 5cm drawn on paper represents 1cm in real life. This is especially useful to draw small components bigger, or if very fine detail needs to be enlarged so that it can be dimensioned.
There are standard scales that are being used on drawings. These standard scales are preferred on drawings, but the draftsman may deviate from these scales (metric drawings).
Standard scales:
Enlarging details:
2:1
5:1
10:1
20:1
50:1
Reducing details:
1:2
1:5
1:10
1:20
1:50
When creating a new drawing, a suitable scale should be selected. The selection is dependent on the following factors:
The size of the sheet available
The overall size of the part/assembly that must be drawn
The number of views that must be included on the drawing
The amount of details that must be shown and
The type of details that must be indicated
These are not the only factors that influence the selection of a scale, other factors may also influence the scale selection.
Below is a drawing of a V-Block drawn is in scale 1:1 (meaning, every 1mm physically drawn on paper represents 1mm in real life)

Now, lets increase the scale of the drawing, to show a larger “area”. Increasing the scale from 1:1 to 1:2, we can fit more “area” on the drawing, but smaller details are less visible.

Increasing the drawing scale even more to 1:5, it becomes quite obvious how much extra “area” are displayed, but again, the cost is details that can be seen

More than one scale may be used on a drawing. In this case, all the scales used on the drawing should be indicated. The scales used can either be indicated as part of the border of the drawing or as part of the detail heading.
When a standard scale is not suitable to be used for a detail or assembly, a non standard scale may be used and should be indicated as NTS (not to scale).


